Long-distance motorcycle touring is about freedom, rhythm, and endurance. Hours on the highway, changing weather, unfamiliar roads, and constant wind noise all test your gear — especially the communication system for touring. A touring motorcycle intercom is not the same as a short-ride or commuter intercom. On a multi-day trip, small weaknesses become big problems: […]
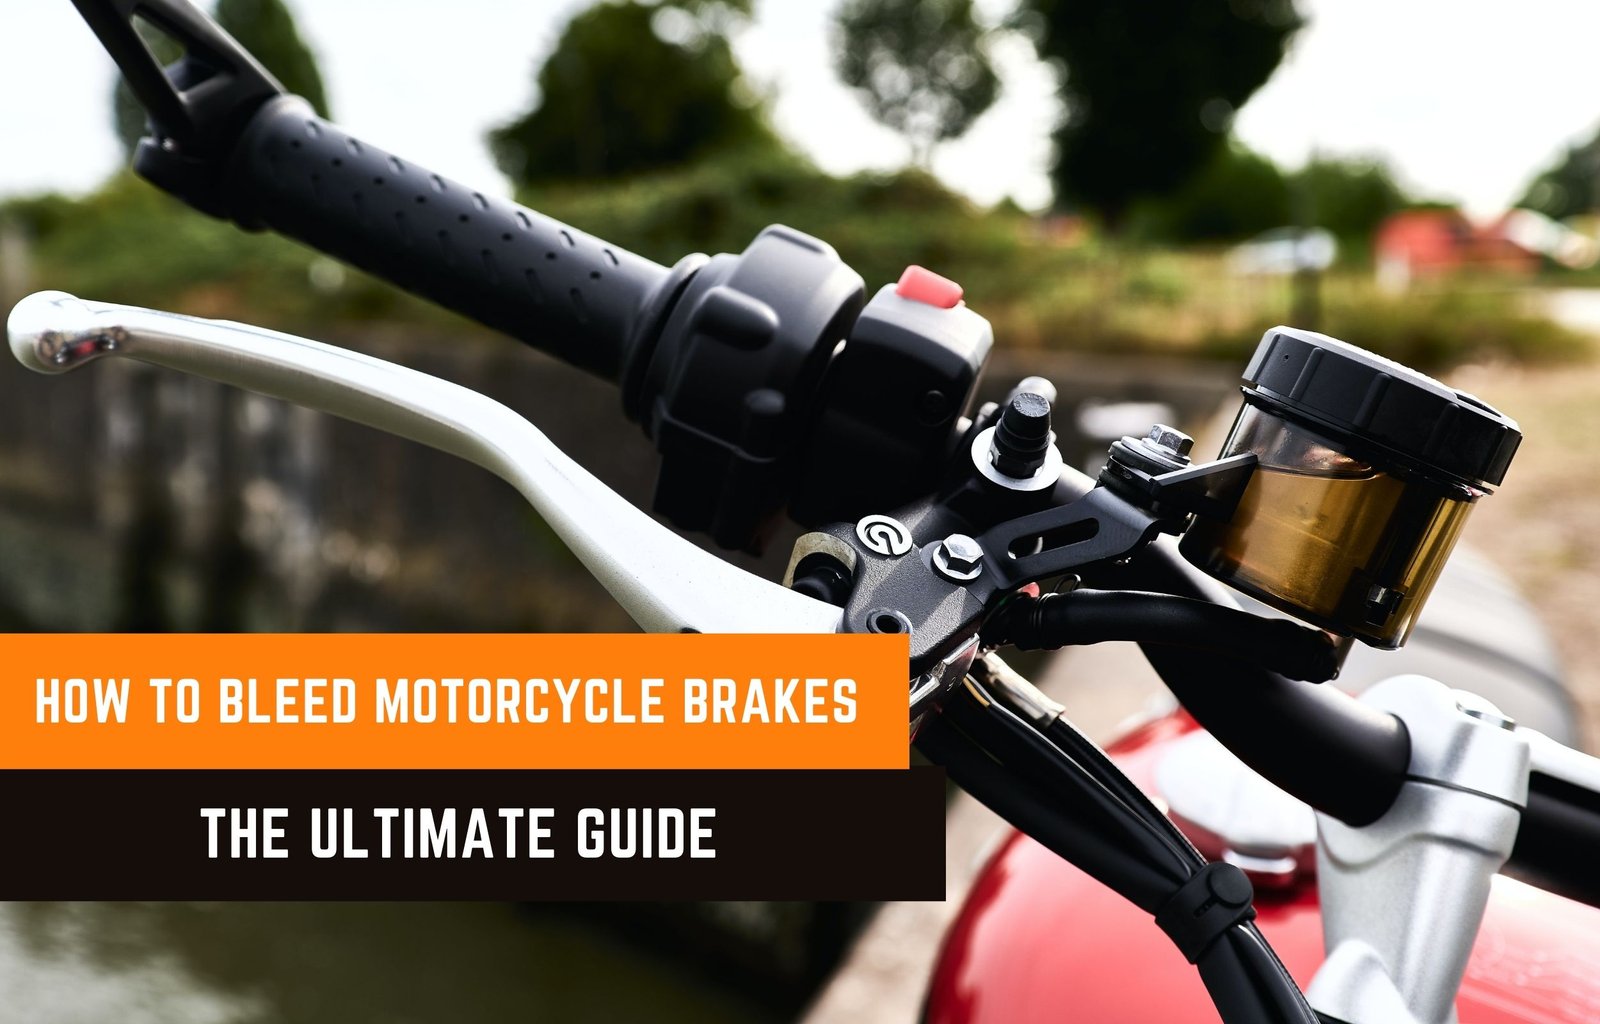
How To Bleed Motorcycle Brakes?
Servicing brake systems by replacing worn components as needed as well as freshening the brake fluid occasionally is an important maintenance task that is commonly overlooked. But how to bleed motorcycle brakes is a difficult problem for novices who have never operated one.
Is it important to bleed your brakes?
Brake bleeding is the process of getting rid of (purging) air bubbles from the hydraulic brake lines.
The brake system has hydraulic fluid inside which does not work well with air bubbles. This is because air bubbles press whereas the fluid does not (incompressible).
You would certainly desire the pressure of the brakes to easily transverse through to the brake pads right?
The air present in the system lowers its capability and so we need to remove them for a safer trip.
In this write-up, we will supply a process on how to bleed motorcycle brakes and share some tips that can make the job easier. We'll even supply a few tips that can make reconstructing your master cylinder go extra efficiently.
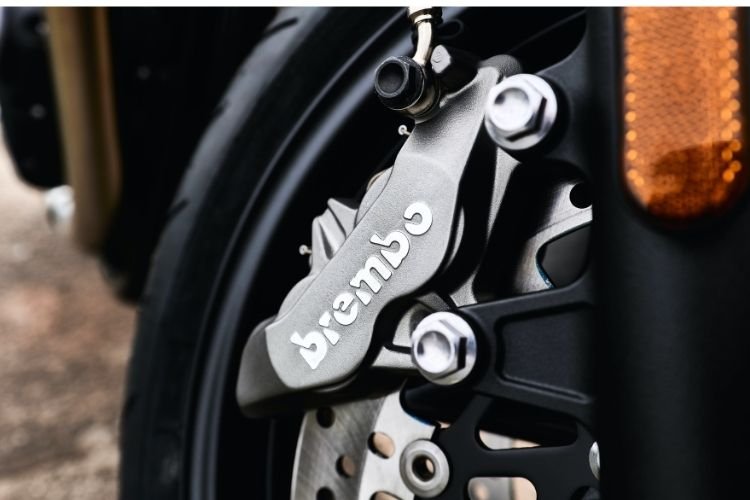
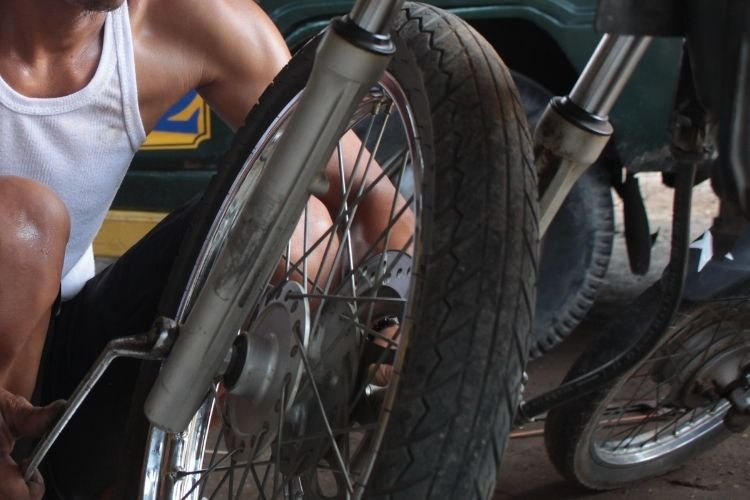
motorcycle brake
Table of Contents
Important Points To Know
Brake fluids utilized in automotive/Powersports applications within the United States and also many other parts of the globe are split into 3 categories. Specs for the categories are outlined by the Department of Transportation (DOT).
The generally offered fluid categories options are DOT 3, DOT 4, and also DOT 5.1.
Most Powersports applications use DOT 4 brake fluid. Usually, your equipment's brake fluid reservoir cap on the front and also rear master cylinder signifies which fluid is utilized.
Normally, mixing of brake fluid categories is not suggested because of compatibility factors and also distinctions in boiling point.
How often should I change the brake fluid?
Actually, your brake fluid needs to be changed every 2 years-- with the time it takes in water, which implies that under hard stopping the tiny pockets of water captured within will certainly steam, forming gas that triggers the brakes to discolor and also fail.
Under general use you'll likely not really feel much distinction, yet it's under heavy braking, probably in an emergency, that old brake fluid will allow you down.

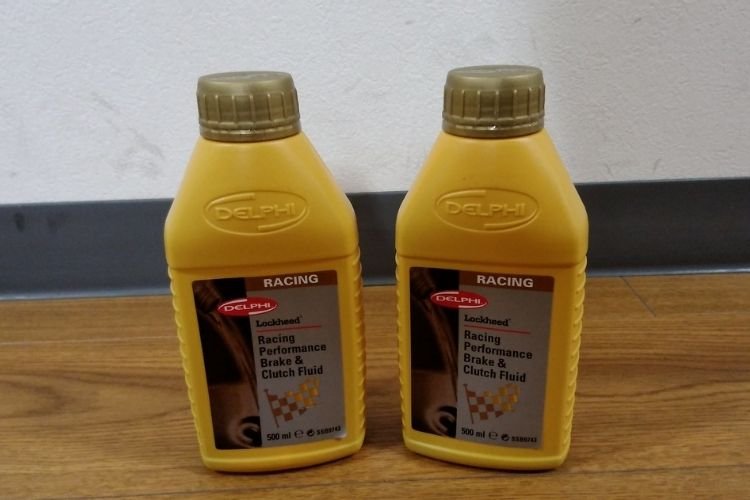
Brake fluid
If you're not sure when the last time your brake fluid was changed, fluid color is a good sign of age. You need to determine if the brake fluid has deteriorated by the color and other aspects.
New brake fluid will likely be pale yellow or amber in color as well as flawlessly clear, while old stuff has a tendency to be dark as well as cloudy.
When you break this seal on the bottle of brake fluid it begins to take on water and begins to shed its effectiveness.
Make sure with your owner's guidebook to guarantee you are using the correct type of brake fluid as not all brake fluid kinds work.
How to choose the right brake fluid?
Selecting the correct brake fluid is as easy as reviewing the cover of your master cylinder-- the producer has the recommended DOT (Department of Transport) kind marked there.
This nomenclature calls for DOT 3, 4 or 5 fluids, which are identified by temperature level range and viscosity.
The distinction between DOT 3 as well as 4 is the boiling point-- DOT 4's higher rating implies it doesn't boil as quickly. DOT 5 fluids have rankings too, but they're silicone-based and do not soak up water like DOT 3 or 4. This might seem like an advantage, however with DOT 5, any water that enters into the system can have an unpleasant interaction with the silicone.
Unless your system is developed for DOT 5, do not also think about using it. As well as don't ever blend DOT 5 with DOT 3 or 4.
brake fluid of motorcycle
Nonsynthetic brake fluids are hygroscopic, suggesting they take in water-- as their dampness content rises, their boiling point drops. When the water caught in the braking system counts on vapor, it develops little pockets of a compressible gas, lowering efficiency. That's why it's essential to alter and flush the brake fluid on a regular basis.
Constantly utilize new fluid from an unopened container so you can be certain it will not be polluted with water. A lot of fluid makers recommend against blending different brands and classifications due to the fact that some chemicals might not work. Before you add anything, check any type of stickers or cautions on the bike for additional info.
Tool Preparation Before Brake Bleeding
- Double-ended wrench (combination open and ring type)
- Screwdriver (depending on the top of the reservoir)
- Bleeder bottle with rubber connection hose
- A couple of rags (to protect the paint)
- Nitrile gloves (to protect hand skin)
- Brake fluid - check shop manual for the correct grade
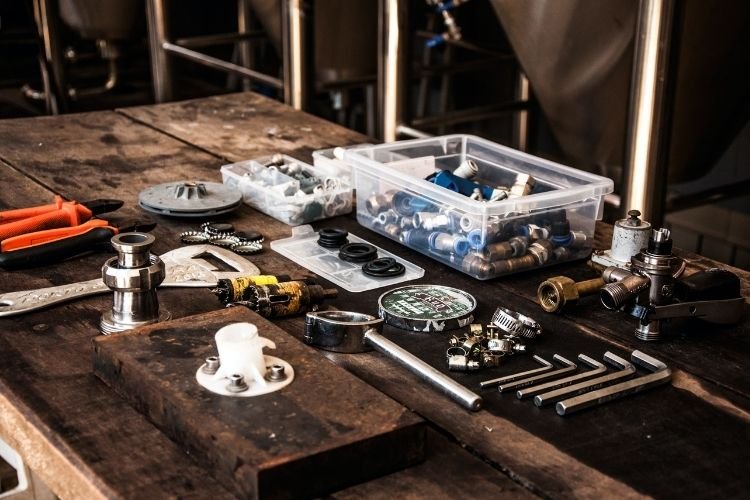
Motorcycle brake bleeding tools
1. Protection work
Brake fluid is nasty things for your skin and also for paint. It is a great practice to place a variety of absorbent rags around the storage tank to soak up any kind of splilling.
It is particularly essential to protect any type of paintwork (gas tank, front fender, and framework) from splilling.
Also, you need to wear gloves to prevent direct contact with the brake fluid.
2. Remove The Cover And Diaphragm
Prior to you begin removing bolts and flushing fluid, take a second to clean down your brake storage tank, calipers, and also brake lines with a clean rag.
This will make sure that you aren't infecting your pads or getting unclean fingerprints all over your bike. When whatever is wiped down, turn the handlebar to make the fluid within the reservoir level.
Beneath the reservoir top must be a rubber securing diaphragm. This diaphragm keeps the brake fluid separate from the atmosphere (air is enabled into the top of the reservoir to replace reducing brake fluid levels).
Brake fluid should additionally be poured into the bleed bottle, ensuring the outlet pipeline is below the surface of the fluid. The wrench (ring end) ought to be put onto the nipple area initially, complied with by the bleed container's rubber tube.
After that carefully eliminate the cap and also diaphragm as well as established both apart on a clean rag, keeping in mind the problem of the diaphragm. If it is worn, fractured, or torn order a substitute.
Twisting bolts with a wrench
3. Connecting The Bleed Nipple For Initial Bleeding
Exchanging the fluid in the system is rather very easy. With dual front discs, begin with the caliper which has the longest total hose pipe size from the master cylinder.
Place a box-end wrench on the caliper's bleeder valve, then push a length of clear pipe over the nipple. This should be a tight fit. The other end should clear into a container that is capable of basing on its own. Sliding the hose pipe with an opening in the screw-on cap is perfect.
Don't fail to remember to leave a rest hole, or the built-up pressure might pump the fluid out of the hose pipe when separated from the nipple, producing an additional mess.
Pump the brake lever to pressurize the system and-- with the lever still drawn in-- split the bleeder screw just loose adequate to permit the pressurized fluid to escape.
Permit the lever to find almost back to the bench then close the bleeder bolt. Do not release the lever till you've closed the bleeder screw. Keep an eye on the fluid level in the storage tank as you duplicate this action.
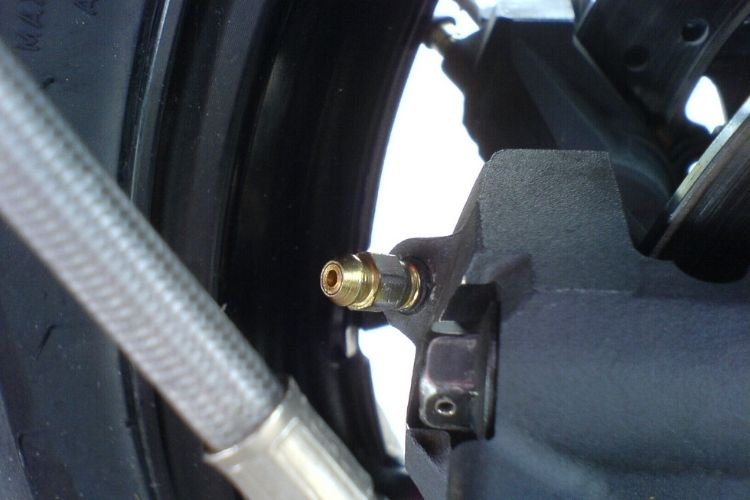
Bleeding setup connection port
4. Refill Reservoir As Needed
Repeat the previous step until the brake fluid storage tank is virtually empty (Be careful not to be completely empty). Refill it with new brake fluid until you can just press fluid out with the lever and no more. Remain to squeeze and also release the lever till you see the fresh-- typically more clear-- fluid emerges from the bleeder valve. It may take dozens of attempts. so be patient.
When you make sure that the hydraulic system is free of the old fluid and/or bubbles, gradually squeeze the lever as you tighten the bleeder valve. Pump the lever numerous times as well as hold. Open the hemorrhage valve to release the fluid. Do this numerous times.
You would certainly be surprised just how typically one last bubble bulges during these last, high-pressure bleeds. If one does, run a couple of even more ounces of fluid with the system. You will certainly be awarded a firmer lever feel.
Do not let the storage tank go vacant if you do enable it to run dry it will introduce air right into the master cylinder and also the bleeding procedure will take a lot longer.
Keep in mind, brakes are a covered system: If you are losing brake fluid consistently, something is wrong and needs even more focus than a basic bleeding task.
Similarly, since the fluid degree goes down as the pads wear, don't just include fluid helter-skelter. If you do, at your next brake task, you risk pressing fluid out of the storage tank when you drive the caliper pistons back right into their bores.
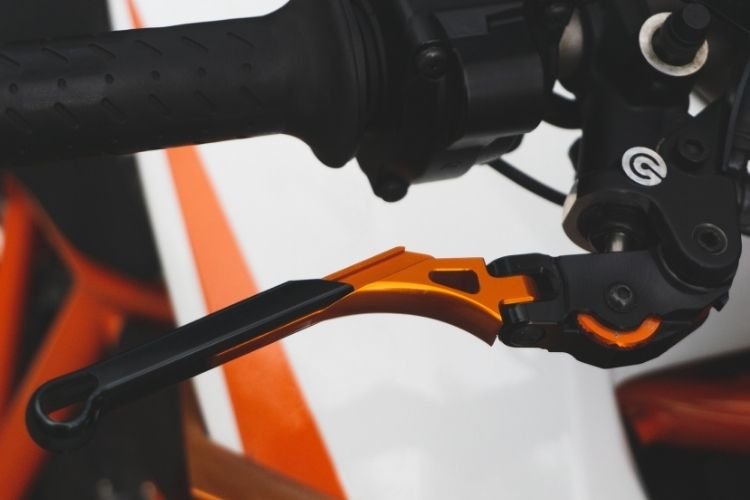
Brake handle of motorcycle
5. Tighten The Bleeder Bolt And Test
Lastly, tighten up the bleeder bolt, remove the hose, fill the reservoir to the proper degree, and re-install the diaphragm and cap, as well as you're done.
Some brake calipers have more than one bleed nipple. When hemorrhaging this type of system, the nipple outermost far from the tank should be bled initially.
At the completion of the brake blood loss procedure, the lever must really feel solid when stress is applied without any sponginess (nipple closed).
Fantastic care needs to be exercised when getting rid of the hemorrhage container as the rubber tube will have brake fluid. These tubes (being made from rubber) tend to get up and also send out a percentage of brake fluid into the air. This fluid will seriously harm paint (laundry off with lots of water) as well as trigger major damage to the technician's eyes.
After the hemorrhage bottle has been gotten rid of, an exclusive brake cleaner can be splashed onto the caliper and also the bleed nipple area, to remove any kind of splashed brake fluid. The rotor has to likewise be wiped clean with brake cleaner to eliminate any kind of fluid or fingerprints, and the dust cap changed on the nipple area.
After completing the motorcycle brake bleeding work, as with all waste fluids in motorcycles, be a good citizen and recycle all your old stuff.
Prior to you set out for a journey, take the bike out around the block, checking the brakes and lever feel.

Motorcycle on the road
Test drive by gradually raising the machine's speed as well as brake load. Do this based on the brake performance and also as you get self-confidence in the brake system. Constantly choose an appropriate test drive location and also make sure to leave your own sufficient space in case something goes amiss.
Prior to performing broadband and also lots of braking tests, stop the device and check over the caliper, line, and also master cylinder to guarantee there are no leaks.
If the lever really feels spongy, you presented air bubbles into the line and also need to start over.

Rodney L is a technical writer and product consultant with over a decade of experience in the motor industry. Rodney is a fan of performance machines that run fast and loud and an expert in all things custom. His numerous articles and write-ups are available at our knowledge base. Whether it’s something wrong with your motorcycle or you are building a custom bike, you can trust Rodney’s experience.
Subscribe
0 Comments
Oldest
You maybe like to read:
Adventure motorcycles, often called ADV bikes, are built to take you from smooth highways to rough backcountry trails. For new riders, picking the best adventure bikes for beginners can make all the difference. The right machine turns highways, gravel roads, forest tracks, and remote trails into places you actually want to explore, while the wrong […]
Riding in a group is thrilling, but without clear communication, even the best rides can turn chaotic. That’s where motorcycle intercom systems come in, letting you talk with your group, share GPS directions, listen to music together, and stay safer on the road. Whether you’re riding with a single friend or leading a pack of […]
I’ve used premium intercoms and budget ones on the same roads, in the same weather, on long touring days. The truth? Most riders don’t need a $400 system. Most riders still need the same basics: clear rider-to-rider talk, stable Bluetooth, and batteries that last a full day on the road. In 2026, budget motorcycle intercoms […]
What is the best motorcycle intercom for beginners? If you’re a new rider, the idea of adding another piece of tech to your helmet can feel overwhelming. I’ve been using motorcycle intercoms for years—on solo rides, long tours, group trips, and daily commutes—and I’ll tell you this upfront: A beginner motorcycle rider doesn’t need the […]
Mesh Intercom vs Bluetooth: Which Motorcycle Communication System Is Better? Mesh intercoms are best for riders who travel in groups because they automatically reconnect and stay stable, while Bluetooth intercoms are better for solo riders and two-up riding due to lower cost and simpler operation. As someone who both wrenches on bikes and rides long […]