Long-distance motorcycle touring is about freedom, rhythm, and endurance. Hours on the highway, changing weather, unfamiliar roads, and constant wind noise all test your gear — especially the communication system for touring. A touring motorcycle intercom is not the same as a short-ride or commuter intercom. On a multi-day trip, small weaknesses become big problems: […]
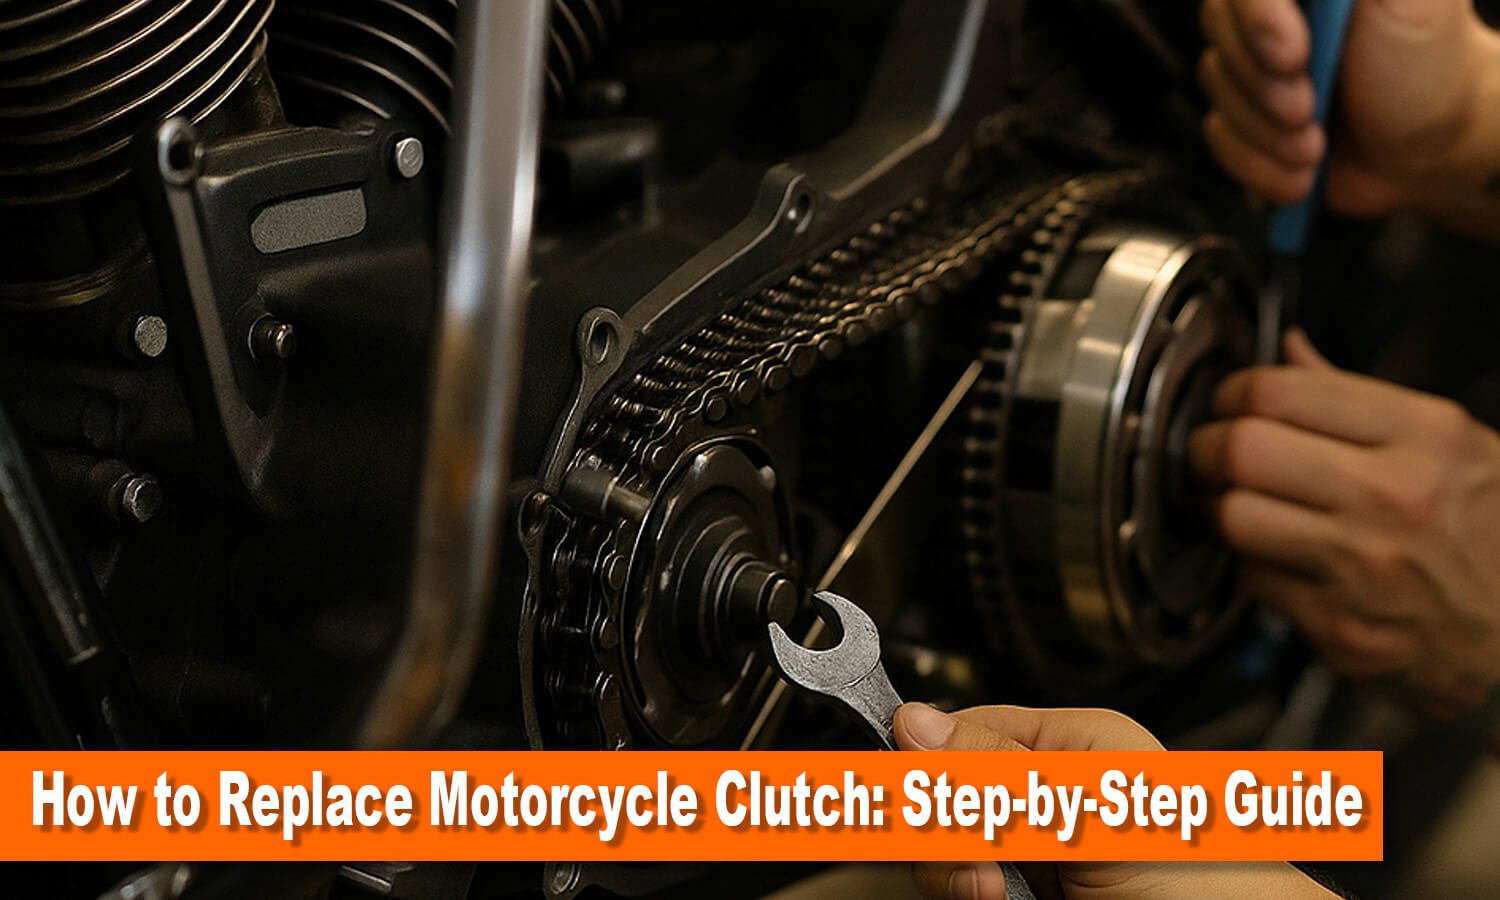
How to Replace Motorcycle Clutch: Step-by-Step Guide
Knowing how to replace motorcycle clutch is a key skill for riders who want to handle their bike's upkeep. While it might look tricky, you can replace a motorcycle clutch at home if you prepare well and pay close attention to the details.
One of the main signs that your motorcycle clutch needs replacing is when the engine revs but the bike speeds up — a typical sign of a slipping clutch. You might also notice rough gear changes or a lack of power going to the back wheel.
This guide walks you through replacing your motorcycle clutch step by step. We'll cover everything from taking out the old clutch plates to putting in a new clutch pack. To stay safe, turn off the engine and prop it up. Don't forget to put on safety glasses and disconnect the battery before you begin.
Table of Contents
Tools & Parts Needed

Tools to replace motorcycle clutch
- Replacement Clutch Kit (plates & springs): Use a complete clutch kit (friction plates, steel plates, new springs) that’s correct for your bike.
- Clutch Cover Gasket/Seal: Always install a new gasket or seal on the clutch cover to prevent leaks.
- Hand Tools: A set of wrenches and sockets (metric or SAE as needed), including a torque wrench for critical fasteners. A flat-head screwdriver may help pry off the cover.
- Drain Pan & Funnel: For catching and refilling transmission oil.
- Motorcycle Stand: Using a paddock stand or center stand keeps the bike level. This makes draining oil easier and prevents spilled oil when the cover is removed.
- Service Manual: Manufacturer specs (bolt torques, oil capacity, plate order) are essential. Your owner’s or service manual will give exact instructions for your model.
Tip: Soak the new friction plates in fresh transmission oil overnight before installation. This “pre-wets” the plates for quicker break-in and smoother operation.
Preparation & Safety
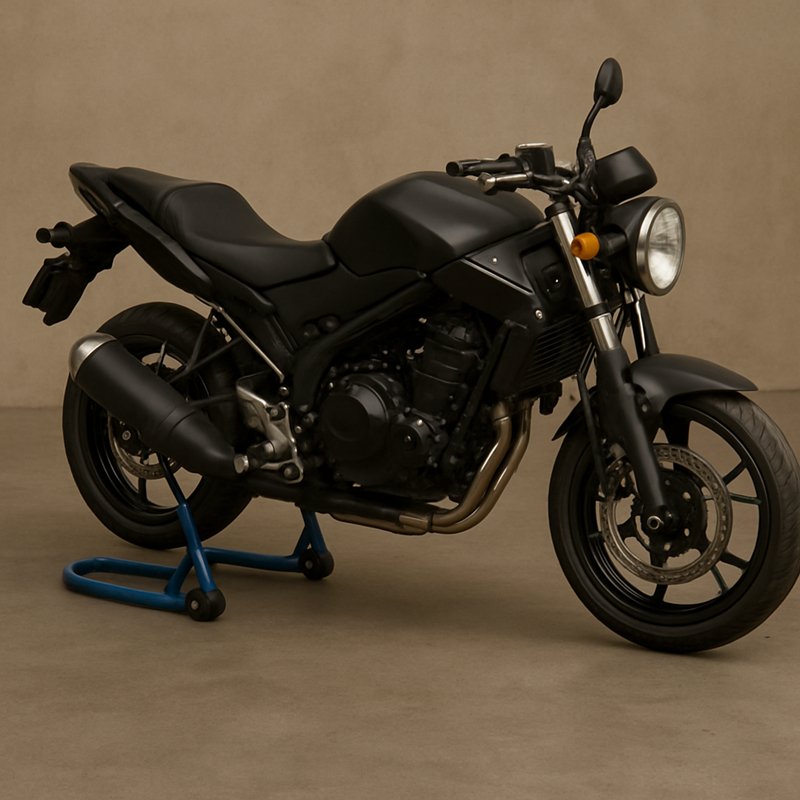
Park the bike on level ground and secure it with a stand
- Work Safely: Park the bike on level ground and secure it with a stand. Wear gloves and eye protection. Disconnect the negative battery cable to prevent any accidental engine starts.
- Drain Oil: Before opening the clutch cover, drain the transmission oil. Place a pan under the clutch (usually near the primary chain inspection port), remove the drain plug, and let the oil drain. Removing other covers (like the chain inspection cover) may be needed to access the plug. If your bike has a side stand only, you can also carefully tilt the bike and use a drain pan – the goal is to avoid oil spilling when the clutch cover comes off.
- Remove Obstructions: The clutch cover is often on the left side (near the footpeg). You may need to shift gears to 1st (so the output shaft turns easily) and push down or wedge the rear brake pedal to keep it out of the way. Some models have footpegs or exhaust components that must be removed first – consult your manual.
Step-by-Step Guide to Replace Motorcycle Clutch
Step 1: Remove the Clutch Cover
Once oil is drained, locate the bolts around the perimeter of the clutch cover.
Unbolt the cover using the correct sockets or Allen keys. Loosen each bolt gradually (leave one or two partially threaded until the end) to prevent warping.
After all bolts are removed, gently pry the cover off; old gasket sealant may make it stick.
Be prepared for a little remaining oil to drip out. Set the cover aside and remove its old gasket (replace it with a new one when reassembling).
Step 2: Remove Pressure Plate and Springs
Once the clutch cover is removed, you’ll see the pressure plate.
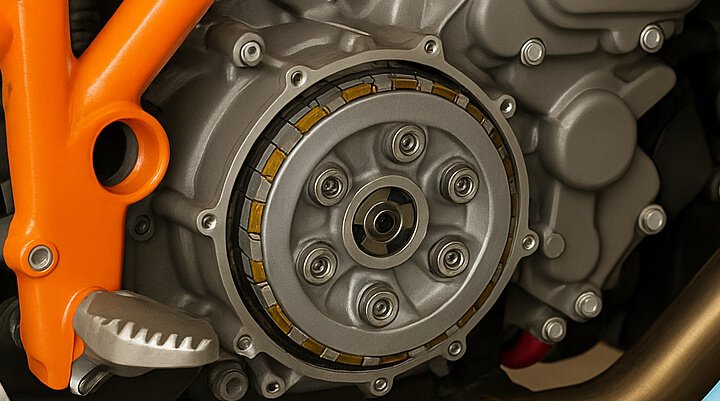
Remove the pressure plate
It’s usually held in place by 6 to 8 spring-loaded bolts arranged in a circular pattern. Each bolt has a spring and possibly a washer underneath it.
To remove the pressure plate safely:
- Loosen the bolts gradually and evenly in a crisscross pattern. This helps release pressure evenly and prevents the plate from warping.
- Do not fully remove one bolt before loosening the others, as this can bend or damage the pressure plate.
- Once all bolts are loosened, remove them completely, along with the springs and any washers. Keep track of the spring positions, although most clutch kits include a full set of new springs.
- Carefully lift off the pressure plate and set it aside on a clean surface with the springs.
Tip: Some pressure plates have a small thrust bearing (also called a release bearing) pressed into them.
Check this bearing for wear — if it feels rough, loose, or gritty when turned by hand, it should be replaced.
Step 3: Remove the Old Clutch Plates and Inspect the Basket
Once the pressure plate is removed, you’ll see a stack of clutch plates inside the clutch basket. These plates are arranged in a specific alternating pattern that must be preserved for reassembly.
Observe the Plate Order
Clutch plates usually alternate between:
- Friction plates (fiber-lined)
- Steel plates
Before removing anything, carefully observe how the plates are assembled. Taking a photo is a good idea in case you need a reference later. Some motorcycles, especially those with factory (OEM) setups, may include a spring plate or cushioned ring within the stack. Make a note of its position if present.
Remove the Plates
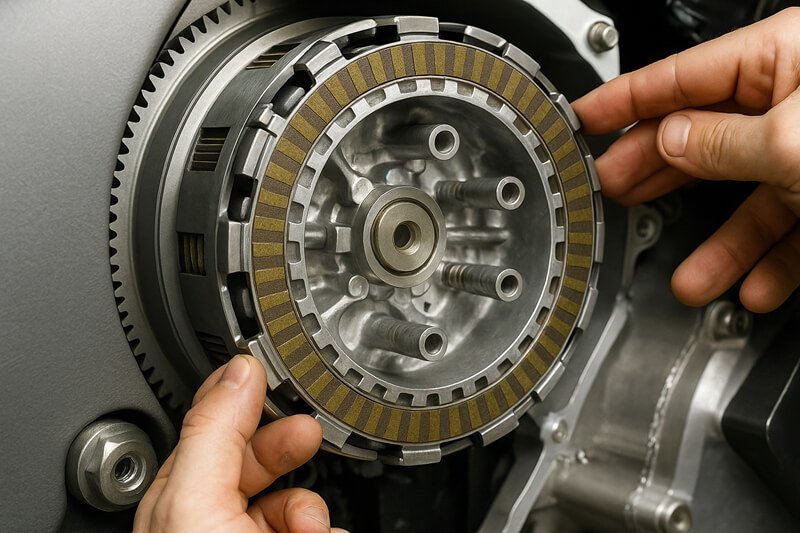
motorcycle clutch plates
Start by removing the lifter or thrust washer — this is the round part that the pressure plate pressed against. Then, slide out the clutch plates one by one. Pay close attention to the order: friction, steel, friction, steel, and so on. The last plate at the bottom is typically a friction plate. Lay the removed plates neatly on a clean rag, maintaining their original order to simplify reassembly.
Inspect the Clutch Basket and Inner Hub
After removing the plates, inspect both the clutch basket (outer drum) and the inner hub splines.
Check the basket fingers (the parts the tabs on the friction plates slide into). Slight notching is normal due to wear, but if you see deep grooves or sharp ridges, they can cause new plates to catch or drag. In that case, the basket should be replaced. Some clutch baskets also include built-in damper springs; if these are loose or worn, replacement is recommended.
Next, check the splines on the inner hub — the parts that the steel plates slide over. Look for signs of wear, pitting, or deformation.
Clean the Components
Use solvent or brake cleaner to clean the clutch basket, inner hub, pressure plate, and inside of the clutch cover. Make sure to remove any metal debris or sludge. Many clutch covers have a small magnet that collects fine metal particles; wipe it clean as well.
Tip: Removing the Clutch Hub Nut
If your motorcycle has a large central nut holding the clutch hub in place, you’ll need to prevent the shaft from turning during removal or installation. To do this:
- Shift the transmission into top gear
- Hold down the rear brake pedal
This will lock the drivetrain and allow you to safely loosen or tighten the central nut.
Step 4: Prepare New Clutch Plates
Before installing the new clutch plates, take time to prepare them properly. This step is essential for smooth operation and a longer clutch life.
Soak the Friction Plates
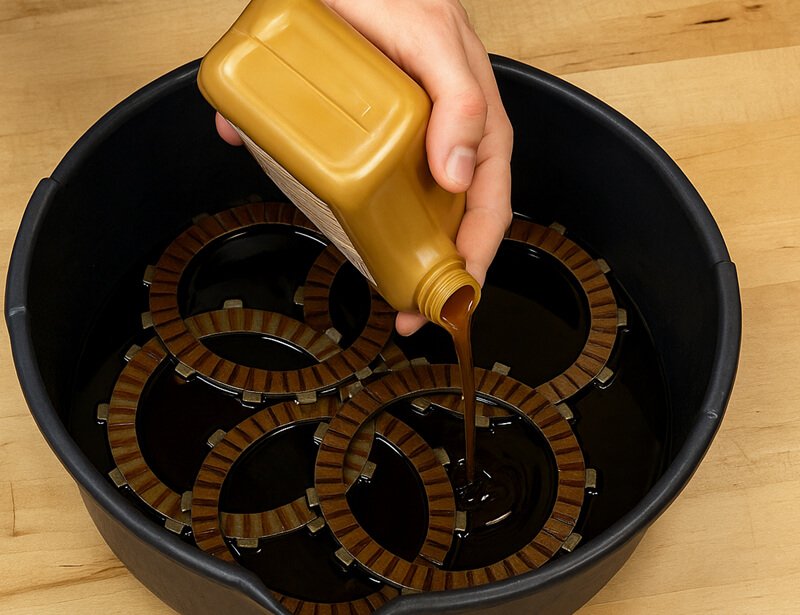
Soak the friction plates
Most friction plates (the fiber-lined ones) need to be soaked in transmission oil before installation. This helps to fully lubricate the fibers and prevents harsh engagement during initial use.
- Place the friction plates in a clean tray or container.
- Pour fresh transmission oil over them until fully covered.
- Let them soak for a few hours, or ideally, overnight.
Note: Some modern clutch kits may specify that the plates can be installed dry. Always read and follow the instructions provided with your specific kit.
Briefly Oil the Steel Plates
While you have the oil out, it’s also a good idea to briefly coat the steel plates with oil. You don’t need to soak them — just a quick wipe or dip is enough to prevent dry contact during the first few uses.
Organize the Plates
Lay out all the plates in the correct order before installation. The typical stacking pattern is:
friction – steel – friction – steel
The sequence usually ends with a friction plate on top, but you should always check your service manual or the instructions included in your kit for the correct order and quantity.
Orientation of Steel Plates
Some steel plates may have markings or slightly rounded edges on one side. If so, make sure that the rounded edge faces toward the engine during installation. This helps ensure smoother clutch engagement and reduces wear over time.
Finally, double-check the total number and order of both friction and steel plates before beginning assembly. Mistakes at this stage can lead to poor clutch performance or premature wear.
Step 5: Install the New Clutch
Once your new clutch plates are prepared, you can begin the reassembly process.
Stack the Plates in Order
Start by sliding the new clutch plates into the clutch basket. Follow the correct sequence:
- Friction plate
- Steel plate
- Friction plate
- Steel plate
...and continue alternating until all plates are installed.
The final (top) plate should be a friction plate, unless your service manual specifies otherwise.
If your original clutch assembly included thin dampers or spacer rings between certain plates, reinstall them in the exact same positions as before.
Make sure each plate is fully seated into the grooves of the clutch basket and inner hub.
Reinstall the Lifter and Pressure Plate
After all plates are stacked:
- Reinstall the lifter and thrust washer onto the hub (if your motorcycle uses them).
- Align the pressure plate on top of the clutch pack, ensuring it fits properly onto the hub splines or alignment tabs.
Install and Tighten the Spring Bolts
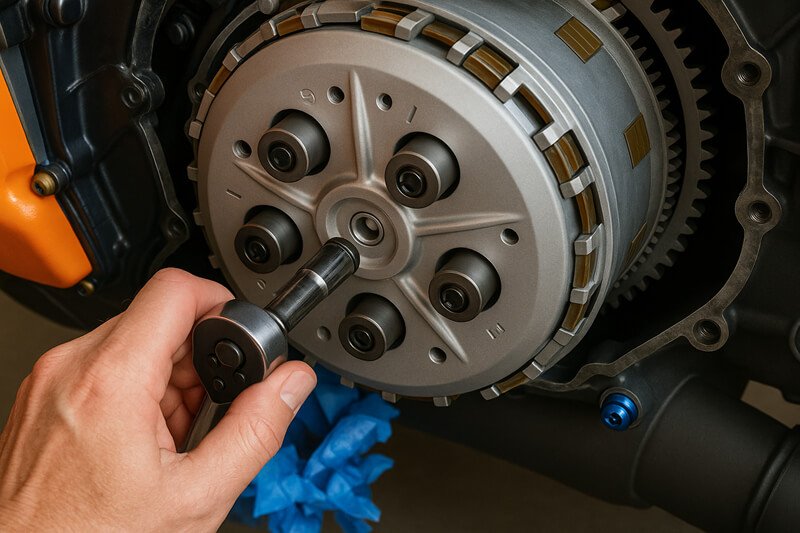
install and tighten the spring bolts
Next, insert the springs and spring bolts. Start all bolts by hand, turning them in just a few threads to avoid cross-threading.
- Tighten the bolts gradually and evenly using a crisscross pattern (e.g., top-left, bottom-right, top-right, bottom-left).
- Use a torque wrench to tighten each bolt to the manufacturer's recommended torque setting. This is typically low (e.g., around 8 ft-lbs or 10 Nm), so be careful not to overtighten.
Over-tightening can strip threads or damage the pressure plate. Under-tightening may allow the springs to loosen during operation.
Once all bolts are torqued properly, double-check each one. Make sure:
- All springs are compressed evenly.
- The pressure plate sits flush and centered.
At this point, your new clutch pack is successfully installed and ready for reassembly of the cover.
Step 6: Replace Clutch Cover & Refill Oil
Clean the clutch cover's mating surface and the engine. Take off any leftover gasket material or sealant to ensure a good seal.
Put a new gasket or seal on the clutch cover.
Put the clutch cover back on the engine. Check that the cover lines up right and sits flat to avoid pinching or hurting the gasket.
Tighten the cover bolts evenly:
- Start all bolts by hand to prevent cross-threading.
- Then tighten them bit by bit in a crisscross pattern to the torque listed in your manual.
Take out any tool you might have used to keep the brake pedal down. Push the brake lever or pedal several times to get it back to its usual spot.
Reinstall the oil drain plug:
- Use a new crush washer if you need to.
- Tighten the drain plug as much as your manual says to.
Refill with fresh transmission oil:
- Pour oil through the chain inspection hole or the right fill hole.
- Use the exact kind and amount of oil your motorcycle's manual tells you to.
Put the inspection cover or fill plug back on and make sure everything's sealed up tight.
Look for any leaks around the clutch cover and drain plug after you've filled it with oil.
Step 7: Reassemble and Adjust
After installing the new clutch pack and securing the clutch cover, it's time to complete the reassembly and test the clutch.
Reinstall Removed Parts
Reattach any components you removed during disassembly, such as:
- Chain guard
- Footpeg brackets
- Exhaust parts or side covers (if applicable)
Make sure everything is tightened securely and correctly aligned.
Reconnect the Battery
If you disconnected the battery for safety during the repair, now is the time to reconnect it.
Adjust the Clutch
Depending on your bike's system:
- For cable-actuated clutches: Adjust the clutch lever free-play according to the specifications in your service manual.
- For hydraulic clutches: Check the fluid level in the reservoir and top it off if necessary. Bleed the system if there is air in the line.
Initial Test
With the bike securely on a center stand or paddock stand:
- Start the engine and let it idle for a few minutes.
- Gently slip the clutch and shift through a few gears to ensure everything engages smoothly.
- Listen for abnormal noises or vibrations.
Take a Short Test Ride
Once everything checks out:
- Go for a short, gentle test ride.
- Avoid aggressive acceleration or high RPMs during the first few miles.
New clutch plates need a break-in period to bed in properly. Ride conservatively for the first 10–20 miles to allow the plates to seat and wear evenly.
Common Mistakes & Tips
- Uneven bolt removal: Loosening one pressure-plate bolt completely before others can warp the plate. Instead, always loosen springs gradually in sequence.
- Skipping soak: Never skip soaking new friction plates. Dry plates will make the clutch grab very suddenly and risk overheating.
- Wrong plate order: Mix-ups happen. To avoid redoing work, double-check plate orientation and order before installing them.
- Forgetting gaskets/seals: A leaking clutch cover or transmission oil is often due to a missing or damaged gasket. Always fit new seals.
- Neglecting the clutch basket: Sharp notches in the basket can destroy new plates. Inspect the basket fingers carefully. If notching is severe, replace or have the basket professionally repaired.
- Improper torque: Over-torquing spring bolts can strip threads, and under-torquing can allow springs to blow out. Use a torque wrench to tighten evenly.
Conclusion
Replacing your motorcycle’s clutch may seem daunting, but by following these steps – and referring to your bike’s specific service manual – you can do it safely and correctly.
Remember to work methodically, keep track of all parts, and double-check everything before final reassembly. With a fresh clutch installed, you’ll enjoy smooth power delivery and confident gear shifts for many miles to come.
Recommended Reading

With over 10 years of experience working on cars and trucks Item Training Supervisor Richard Reina is known around the office as one of our technical experts & real an "automobile person".
His rate of interest began, in his very own words, "at the age of two when his father educated him the distinction in between a Chevy and a Ford. Since then it's been cars regularly."
As a serious lover of practically all things with a motor Richard can address nearly any kind of inquiry related to car upkeep, fixing, or restoration & is a fact professional in electric motor background.
Subscribe
0 Comments
Oldest
You maybe like to read:
Adventure motorcycles, often called ADV bikes, are built to take you from smooth highways to rough backcountry trails. For new riders, picking the best adventure bikes for beginners can make all the difference. The right machine turns highways, gravel roads, forest tracks, and remote trails into places you actually want to explore, while the wrong […]
Riding in a group is thrilling, but without clear communication, even the best rides can turn chaotic. That’s where motorcycle intercom systems come in, letting you talk with your group, share GPS directions, listen to music together, and stay safer on the road. Whether you’re riding with a single friend or leading a pack of […]
I’ve used premium intercoms and budget ones on the same roads, in the same weather, on long touring days. The truth? Most riders don’t need a $400 system. Most riders still need the same basics: clear rider-to-rider talk, stable Bluetooth, and batteries that last a full day on the road. In 2026, budget motorcycle intercoms […]
What is the best motorcycle intercom for beginners? If you’re a new rider, the idea of adding another piece of tech to your helmet can feel overwhelming. I’ve been using motorcycle intercoms for years—on solo rides, long tours, group trips, and daily commutes—and I’ll tell you this upfront: A beginner motorcycle rider doesn’t need the […]
Mesh Intercom vs Bluetooth: Which Motorcycle Communication System Is Better? Mesh intercoms are best for riders who travel in groups because they automatically reconnect and stay stable, while Bluetooth intercoms are better for solo riders and two-up riding due to lower cost and simpler operation. As someone who both wrenches on bikes and rides long […]