The motorcycle communication systems field just got a significant upgrade with the release of the Fodsports FX7. This state-of-the-art Bluetooth mesh intercom is packed with many advanced features and techs. It will revolutionize the way riders communicate and enjoy their rides. Whether you're a solo rider or part of a group, the FX7 offers unparalleled […]

How to Adjust Your Snowmobile’s Track Tension
October 20, 2025
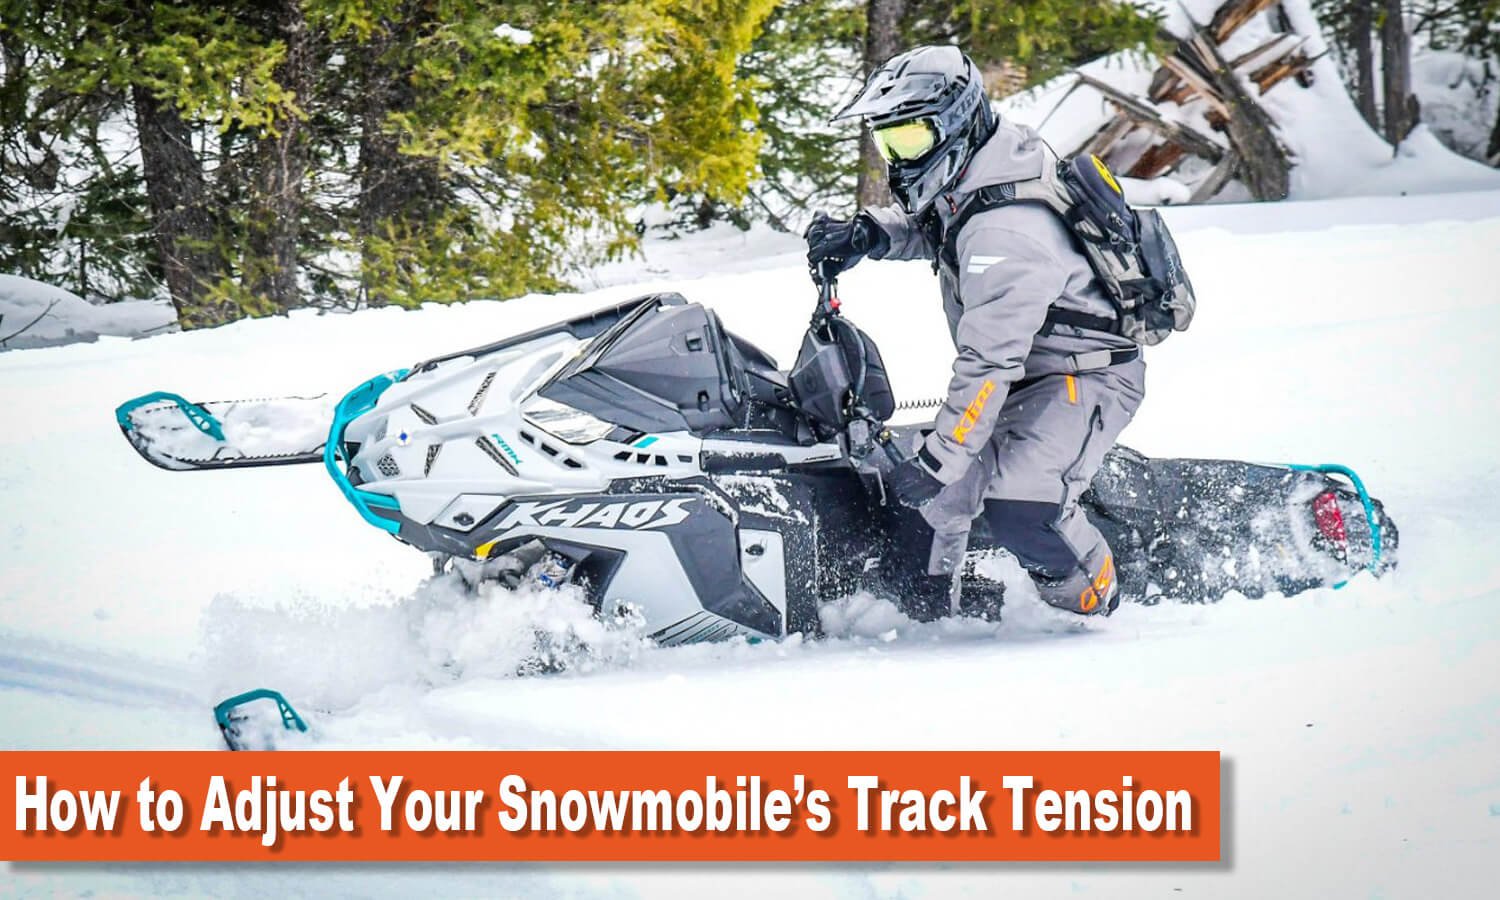
Getting your snowmobile’s track adjusted correctly doesn’t have to be complicated. In this guide, we’ll show you the tools, step-by-step instructions, and troubleshooting tips for all major brands — Polaris, Ski‑Doo/Lynx, Arctic Cat, Yamaha, and more. If you do it right, your snowmobile will run great quickly.
Table of Contents
Why Track Tension Matters
Track tension directly affects handling, power transfer, and component wear.
Too much tension binds the suspension and track, causing power loss and premature wear on bearings and components.
Too little tension lets the track “slap” or skip (“ratchet”), causing thumping or slippage, and in severe cases, the track can derail.
In short, correct tension extends track life and keeps your sled on top of its performance. All manufacturers stress proper tension.
For example, Polaris warns that insufficient tension causes “ratcheting, hesitation, and excessive wear”. Checking tension is especially important on new or recently repaired tracks, which stretch during break-in.
Track tension is also linked to track alignment. An off-center track wears unevenly and may throw off tension. Always check alignment after adjusting track tension.
Snowmobile Track Tension Tools
1. Wrenches / Sockets
wrenches
- Most sleds use metric sizes.
- Common tools include:
- 15 mm for Polaris
- 17 mm for Ski-Doo
- Sometimes 10 mm (Ski-Doo) or 14 mm for other models
- A ratchet with extension helps reach tight spots.
- Use a breaker bar if the bolts are stuck.
2. Track Tension Gauge or Weight
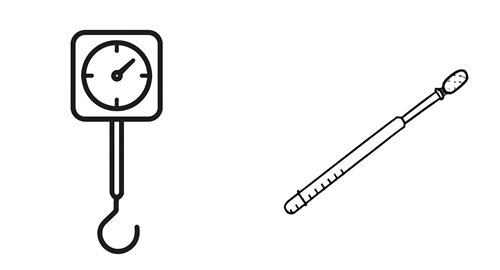
track tension gauge
- A spring tensiometer is ideal for measuring track sag.
- Alternatively, hang a known 10 lb (4.5 kg) weight about 16″ (40 cm) ahead of the rear axle (per Polaris spec).
- Ski-Doo often recommends using a track gauge instead.
- The key is applying a consistent downward force on the track.
3. Snowmobile Lift or Stand
lift the snowmobile
- The rear end of the sled must be elevated so the track hangs free.
- Use a center stand, a removable lift stand, or a snowmobile service jack.
- Make sure it’s stable and locked before you start working.
4. Flat-Head Screwdriver
screwdriver
- Many models (e.g., Ski-Doo, Lynx) have plastic caps over the rear idler wheel bolts.
- A flat screwdriver or trim tool removes these caps for access.
5. Torque Wrench
torque wrench
- Use this to retighten the idler axle to the manufacturer’s spec.
- For example, Polaris specifies about 35 ft-lb (47 N·m) for the idler bolt.
6. Tape Measure
tape measure
A tape measure is essential for checking track deflection.
- After applying the weight or tension gauge, measure the vertical distance between the bottom of the track and the slide rail.
- Use one with both inch and centimeter markings for accuracy.
- Measure from the correct spot — usually about 16″ (40 cm) ahead of the rear axle.
7. Safety Gear
- Wear safety glasses and gloves (Polaris recommends nitrile).
- Keep loose clothing and hair away from moving parts and the track.
Safety Precautions
Safety first: Always follow these precautions before and during the adjustment process:
- Park on a level surface with the parking brake on. Chock the front skis if needed. Ensure the machine is stable before lifting.
- Remove the tether cord and key; engine off. This prevents accidental starting. Never adjust the track with the engine running, except briefly when checking alignment.
- Run the engine to warm up the track first. Tension should be checked on a warm, pliable track. A few minutes of idle/warm-up is usually enough.
- Do not stand behind or near the track when it’s spinning. Always assume the track could move. Never stand behind or near a rotating track— debris could be projected.
- Work in a well-ventilated area. If you run the engine to spin the track, avoid enclosed spaces, as carbon monoxide can build up quickly and is extremely dangerous.
- Clear the track and suspension of debris. Snow, ice, or sticks jammed in the track can affect the track tension readings and alignment. Brush away buildup before measuring.
- Lift the sled securely. If using a jack or lift stand, lock it in position. Never rely on a single jack alone; use stands on both sides if possible.
With tools and safety gear ready, you’re set to adjust the track tension systematically.
Step-by-Step Adjustment Guide
Step 1: Warm Up & Inspect
- Run the engine on idle for 5–10 minutes (in neutral). This warms the track and lubricates the suspension.
- While warm, inspect the track and skid frame.
- Look for damage: tears in the rubber, loose studs, missing bolts, or cracks in the idler wheels.
- Check that sliders (the plastic rails under the track) aren’t worn through or broken.
- Replace or repair any damaged parts before adjusting track tension.
Step 2: Elevate the Rear
- Position the sled on a lift or use the centerstand/side lift so the track is completely off the ground.
- Make sure the track spins freely without touching the floor.
- The track lift makes measuring and adjusting much easier.
Step 3: Measure the Current Slack
Check how much the track sags under weight.
Use a tension gauge or apply a small known weight (for example, around 10 lbs / 4.5 kg) at a point roughly midway between the track’s rear axle and the first rear idler wheel.
Measure how much the track deflects (sags) from the slide rail.
Typical targets
- Polaris trail models call for about 7/8″–1⅛″ (2.2–2.6 cm) of deflection at 10 lbs.
- Many two-stroke sleds (like Ski-Doo deep-snow sleds) aim for roughly 3/8″–½″ (1–1.3 cm) of sag.
Check your owner’s manual for the exact specs of your model. (In general, a loose track will deflect more than these ranges; a tight track will deflect less.)
Step 4: Loosen the Suspension
With measured slack noted, it’s time to adjust.
- Loosen the rear idler axle bolt (both sides) so the axle can slide.
- On Polaris, use a 15 mm socket; on Ski‑Doo/Lynx, use a 17 mm socket or wrench. Don’t remove the bolt, just break it loose.
- Loosen the jam nuts (locknuts) on the track adjuster screws if present (Polaris models have locknuts). This frees the adjusters to turn.
Step 5: Adjust the Track Tension
Now, turn the adjustment screws on each side of the skid rail. Each screw raises or lowers one side of the rear suspension, tightening or loosening the track.
- To tighten a loose track: turn both adjuster bolts clockwise (as viewed from the back) a little at a time.
- Watch the track’s position: as it tightens, the rear of the track will climb toward the slides.
- To loosen an overly tight track: turn both bolts counterclockwise. Make very small adjustments (¼-turn at a time), and turn the left and right screws evenly to keep the track centered.
- After each tweak, measure the slack again at the same spot. Continue until the deflection meets the specification.
Step 6: Retighten and Torque
- When correct slack is achieved, re-tighten the jam nuts or locknuts on the adjusters (if equipped) until snug.
- Re-torque the rear axle bolt to the manufacturer’s spec (e.g., Polaris ~35 ft-lb).
- On BRP sleds, refer to the Operator’s Guide for the exact torque value.
- Replace any wheel caps or covers you removed (Ski‑Doo idler wheels have plastic caps).
Step 7: Check and Align the Track
- With the engine off, spin the track manually several full turns to settle it into place.
- Start the engine and slowly rotate the track (at idle) for 5–15 seconds. This lets the track find its center. Shut the engine off.
- Inspect the alignment: measure the distance from the track lugs or clips to the slide on each side. They should be equal. If one side is farther from the slide, loosen the axle slightly and adjust that side’s screw to bring it in line.
- Re-torque the axle. (Polaris has a detailed alignment procedure in its manuals, but the principle is the same: achieve equal spacing.)
Step 8: Final Check
- Rotate the track by hand one more time. It should turn smoothly without catching or binding.
- Listen for unusual noises (squeaks or scraping).
- Lower the sled back down and take it for a short, cautious test ride.
- Start at low speed and check for any skipping or vibration. If everything feels normal, the job is done.
Brand-Specific Notes
The general adjustment process is similar across all snowmobiles, but track tension specifications and tools vary by brand. Always confirm the exact values in your owner’s manual.
Polaris
- Most models (Indy, Switchback, RMK, etc.) use 10 lbs (4.5 kg) of downward force 16″ (40 cm) ahead of the rear axle.
- Target deflection: 7/8″–1⅛″ (2.2–2.6 cm).
- Adjust on a warm track for best accuracy.
- Use 15 mm tools on both the axle and the adjusters.
- Polaris provides detailed online guides with torque specs and step-by-step tips.
Ski-Doo / Lynx (BRP sleds)
- Dual adjusters are used on the skid frame.
- Typical tools: 17 mm and 10 mm wrenches.
- Often measured with a track gauge (tensiometer) rather than a hanging weight.
- Deep-snow models: about ½″ (1.3 cm) sag at 10 lbs.
- BRP recommends checking after the first 50 miles, then every few hundred miles.
- Procedure: loosen the axle → adjust both screws evenly → re-tighten → spin and check alignment.
Arctic Cat (Textron)
- Uses a similar spring-style suspension with adjusters.
- Manuals typically specify 10–20 lbs of force at ~16″ from the axle.
- Some crossover models call for 1.75–2″ (4.5–5 cm) deflection at 20 lbs.
- General steps: elevate sled → loosen axle bolt → turn adjustment bolts → re-tighten.
- If unsure, start around 1″ (2.5 cm) of sag and fine-tune by test riding.
Yamaha
- Models such as Apex and Nytro feature adjustable rails.
- Specs vary: some manuals list ~1″ (2.5 cm) deflection at 10 lbs.
- Procedure: warm the track → elevate → loosen axle → adjust both sides equally → re-torque.
- If no spec is available, use 3/8″–1″ (1–2.5 cm) at 10 lbs, then adjust after a short test ride.
Other brands
Newer models from Polaris (Matryx chassis), BRP (Lynx), Arctic Cat, and Yamaha all follow this same general process.
When in doubt, consult your Owner’s Manual or service guide for the exact deflection and torque values.
Troubleshooting Common Issues
- Track still too loose (ratchet): If the track still slips when you speed up after you've tweaked it, it's likely still too loose. Check the sag again – it should be within the normal range. Tighten it bit by bit, going back and forth between each side. After each tweak, make sure the axle is fully tightened, or it might slip back.
- Track too tight (hard to turn or squeaks): A track that's too tight will stick to the slide and put more stress on the bearings. If you sense less power or hear squealing while riding, slightly loosen the adjusters. Even if the bend looks normal, make sure the track isn't riding high on the sliders. Tighten it just enough, so the track barely moves under the weight.
- Uneven Wear or Alignment Problems: If you see the track rubbing more on one side or the studs are wearing unevenly, the alignment might be off. Start the alignment again: spin the track, measure the clip-to-slide gap, and tweak that side's bolt. Also, see if the rear skid rails are straight and the locknuts are tightened equally – uneven rails mess up the alignment.
- Noise or Vibration: Loud thumps, clunks, or shaking can happen from bad tension or damage. Check for broken studs, worn bearings, or things stuck in there. Sometimes, a track that’s too tight damages the sliders, causing noise. If weird noises keep happening after you set the track tension right, have a shop see the suspension and track parts.
- Hard to Adjust: If the adjuster screws won't move, spray them with lubricant and use penetrating oil. First, be sure you've fully loosened the locknuts. Always use your hands or a breaker bar carefully – don't over-tighten the small adjuster bolts.
Conclusion
To get the most out of your snowmobile, keep the track in good shape for smooth rides, easy handling, and less chance of breaking down. Keep it clean and tight, and you’ll be set for the whole winter. So, get your tools, make sure the track tension is right, and go have fun.
Ride safe, and enjoy the snow!
Related Reading

With over 10 years of experience working on cars and trucks Item Training Supervisor Richard Reina is known around the office as one of our technical experts & real an "automobile person".
His rate of interest began, in his very own words, "at the age of two when his father educated him the distinction in between a Chevy and a Ford. Since then it's been cars regularly."
As a serious lover of practically all things with a motor Richard can address nearly any kind of inquiry related to car upkeep, fixing, or restoration & is a fact professional in electric motor background.
You maybe like to read:
Fodsports Brand Month: Unbeatable Deals and Top-Notch Service
Discover Fodsports Brand Month July and August mark a special occasion for motorcycle enthusiasts and tech lovers alike. Welcome to Fodsports Brand Month! This event is dedicated to celebrating everything that makes Fodsports a leading name in the motorcycle communication industry. Get ready for a fantastic promotions, exceptional service from Fodsports. Let's insights into Fodsports' […]
Adirondack Mountains in Fall: Highlights and Motorcycle Riding Guide
Few places in New York offer a better combination of mountain roads, lakes, forests, and fall color than the Adirondack Mountains. For motorcycle riders, autumn brings an extra layer of appeal: winding roads surrounded by red, orange, and golden foliage. The Adirondack Park covers about 6 million acres, with more than 3,000 lakes and roughly […]
Vermont Route 100 in Fall: Highlights and Motorcycle Riding Guide
Vermont Route 100 is one of New England’s most rewarding roads for a fall motorcycle ride. Stretching roughly 216 miles through the Green Mountains, the route connects mountain scenery, colorful forests, farms, covered bridges, and small Vermont towns. For motorcyclists, however, a great fall ride requires more than choosing a scenic road. Autumn brings colder […]
Kancamagus Highway Motorcycle Trip: Autumn Foliage, Route and Safety Tips
Few American motorcycle roads combine mountain scenery, flowing curves, forest color, and accessible riding as effectively as New Hampshire’s Kancamagus Highway. In autumn, the route changes from a beautiful mountain road into a moving landscape of red maple, golden birch, dark evergreen forest, rocky overlooks, and rushing river valleys. Known locally as “The Kanc,” this […]
Fall Motorcycle Riding Tips: How to Ride Safely in Autumn
Fall is a great season for motorcycle riding. Cooler temperatures, colorful scenery, and comfortable roads make autumn an ideal time to explore. However, the change of season also brings new riding challenges. Wet leaves can reduce traction, temperatures can change quickly, daylight becomes shorter, and wildlife may be active near roads. With a little preparation, […]